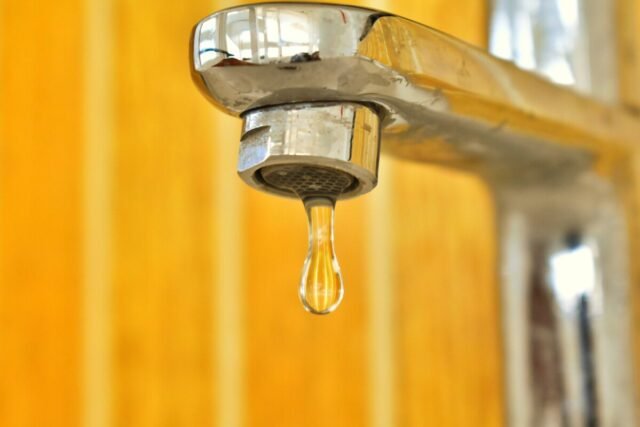
A leaky faucet is one of the most common plumbing issues faced by homeowners. The constant dripping not only wastes water but also disrupts your daily routine with that annoying sound. Fixing a leaky faucet may seem daunting, but it’s actually a pretty straightforward DIY project that you can tackle yourself. With some basic tools, a little patience and this step-by-step guide, you’ll be able to repair that leaky faucet in no time.
Understanding Different Types of Faucets
The first step is identifying the type of faucet you have, as the repair process varies slightly depending on the faucet type. The three main types of faucets are:
Compression Faucets
Compression faucets are the most common type found in most homes. They work by means of a rubber washer that gets compressed when the handle is turned on, sealing the water flow. Over time, this washer wears out or gets damaged, causing leaks. Replacing this washer is an easy fix.
Cartridge Faucets
Instead of washers, cartridge faucets use a cylindrical cartridge to control water flow and mixing. Cartridges have small seals that cause leaks when worn out. Replacing the entire cartridge unit restores watertightness.
Ball Faucets
Ball faucets have a single handle that moves a ball inside to direct water flow. Leaks occur when the inlet seals around the ball become defective. Fixing involves replacing these seals to stop leaks.
Now that you know the basic mechanism of each faucet type, you can diagnose where exactly the leak is coming from. This will determine the specific repair steps.
Gathering Tools and Materials
Before starting any work, gather the necessary tools and materials:
- Adjustable wrenches – to loosen nuts and bolts
- Basin wrench – for tight spaces under sinks
- Screwdrivers – flathead and Phillips heads for removing screws
- Pliers – to grip cartridges or loosen stiff nuts
- Replacement parts – washers, cartridges, valve seals etc.
- Plumber’s putty or silicone sealant
- Flashlight – to see in dark cabinet space
- Cloth – to clean area and prevent part damage
Having these supplies ready will make the repair process smooth and efficient. Ensure you have turned off the water supply valves under the sink before starting.
Step-by-Step Repair Guide for Different Faucet Types
Follow the repair steps specific to the type of faucet you have:
Compression Faucet Repair
- Turn off hot and cold water supply valves and open the faucet to drain any water in the lines.
- Pry off the decorative cap on the handle if present. Remove the handle screw and take off the handle.
- Use an adjustable wrench to loosen and remove the spout. This exposes the stem assembly.
- Unscrew the stem unit using pliers and replace the worn out washer with a new one of the same size.
- Re-install the stem and tighten it properly. Reattach the spout.
- Put the handle back on and secure with the screw. Turn on water supply and check for leaks.
Cartridge Faucet Repair
- Shut off water supply and remove any parts surrounding the cartridge.
- Use pliers to pull out the retainer clip securing the cartridge in place.
- Pull the cartridge unit straight up and out with pliers. Examine it for damage.
- Grease replacement cartridge seals and insert the new cartridge. Secure with the retainer clip.
- Reinstall any parts removed earlier like handles or spout. Turn on water to test for leaks.
Ball Faucet Repair
- Shut off water lines and take out any decorative parts, handles, and spout.
- Locate the cam assembly securing the ball unit. Remove the cam and lift out the ball.
- Use pliers to remove the inlet seals around the ball and replace with new seals.
- Put the ball back in, replace the cam and reattach all parts removed earlier.
- Turn on water supply and check for any leaks around the ball unit. Tighten cam if needed.
Troubleshooting Common Issues
While repairing your faucet, you may encounter a few problems. Here are some solutions:
- Dripping doesn’t stop after replacing washers: The seats where washers sit may be worn out. Replace them with new seats.
- Water flow is restricted: Make sure parts are properly aligned inside the faucet. Flush lines to remove debris.
- Leaking between spout and wall: Reapply plumber’s putty around the spout base to seal any gaps.
- Noisy faucet: Disassemble and lubricate components using plumber’s grease. Replace worn parts.
- Water leaks underneath: Tighten nuts holding supply lines with an adjustable wrench. Replace washers if needed.
Always exercise caution when troubleshooting leaks and turn off water supply before disassembling the faucet. Persistent leaks may require professional help.
Prevention Tips for Future Leaks
Here are some tips to minimize leaks and keep your faucets working properly for years:
- Install washers made of durable materials like neoprene or silicone. Avoid cheap plastic washers.
- Clean faucet aerators regularly to remove mineral buildup and debris.
- Use spray lubricants and cleaners to prevent corrosion on faucet components.
- Invest in high-quality faucets with ceramic disc cartridges that last longer.
- Insulate outdoor faucets in winter to prevent freezing and cracks.
- Replace washers, O-rings, and seals every few years before they wear out completely.
- Use water softening systems if you have hard water, which causes faster mineral buildup.
With proper maintenance and high-quality parts, you can prevent leaks and extend your faucet’s lifespan significantly.
Conclusion
Fixing a leaky faucet is a straightforward DIY project that you can certainly accomplish yourself. Identify the faucet type, gather the right tools and replacement parts, follow the repair steps, and troubleshoot any issues that arise. Prevent future leaks with regular maintenance and high-quality faucet components. Equipped with this guide, you can easily tackle that annoying dripping faucet and restore your bathroom or kitchen to full working order.


