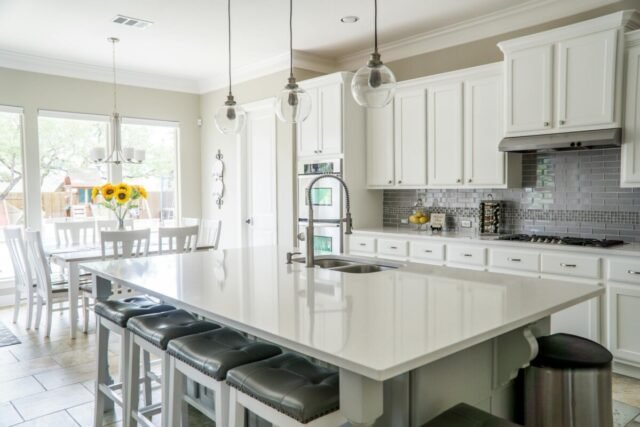
Are you tired of your outdated kitchen cabinets but don't want to spend a fortune on a complete renovation? A DIY kitchen cabinet painting project might be just the solution you need! Not only is it cost-effective, but it can also completely transform the look and feel of your kitchen. In this ultimate guide, we'll walk you through the essential steps to achieve a professional-looking finish that will make your kitchen the envy of the neighborhood.
Painting your kitchen cabinets is one of the most impactful ways to give your kitchen a fresh, modern look without breaking the bank. By tackling this project yourself, you can save a significant amount of money compared to hiring professionals or purchasing new cabinets. Plus, you'll have the satisfaction of knowing that you created a beautiful space with your own hands.
The key steps involved in DIY kitchen cabinet painting include:
- Gathering essential supplies
- Choosing the right paint
- Preparing the cabinets
- Priming for optimal results
- Painting for a flawless finish
- Reassembling and revealing your new look
Essential Supplies
Before you begin your kitchen cabinet painting journey, it's crucial to gather all the necessary supplies. Here's what you'll need:
Cleaning Supplies
- Degreaser
- Sponges
- Microfiber cloths
Preparation Supplies
- Painter's tape
- Sandpaper (if desired)
- Drop cloths
Painting Supplies
- Primer
- Paint
- Paintbrushes
- Rollers
- Paint tray
Optional Supplies
- Paint sprayer (for experienced DIYers)
- New cabinet hardware
Having all your supplies ready before starting will ensure a smooth and efficient painting process.
Choosing the Right Paint
Selecting the perfect paint for your kitchen cabinets is essential for achieving a durable, long-lasting finish. Consider the following factors when making your choice:
- Durability: Opt for paint that can withstand the wear and tear of daily kitchen use.
- Finish type: Choose between matte, semi-gloss, or high-gloss finishes based on your desired look and ease of cleaning.
- Color selection: Pick a color that complements your kitchen's style and existing elements.
Popular paint options for kitchen cabinets include:
- Cabinet-specific paints: Formulated specifically for use on cabinets, offering excellent durability and adhesion.
- Latex/acrylic paints: Easy to work with, low-odor, and quick-drying.
- Oil-based paints: Known for their durability and smooth finish, but require more ventilation and have a longer drying time.
- Chalk paint: Provides a rustic, matte look and requires minimal preparation.
When selecting colors and finishes, draw inspiration from photos of kitchens you admire and consider how the color will interact with your existing countertops, backsplash, and flooring.
Step-by-Step Preparation
Proper preparation is key to ensuring a smooth, long-lasting finish. Follow these steps to get your cabinets ready for painting:
- Remove doors and hardware: Label each door and its corresponding location for easy reassembly later.
- Clean thoroughly: Use a degreaser to remove any grease, grime, or residue from the cabinet surfaces.
- Sand (if needed): Lightly sand the cabinets to create a better surface for paint adhesion. This step may not be necessary for all cabinet types.
- Tape and protect surfaces: Use painter's tape to protect hinges, edges, and other areas you don't want to be painted. Place drop cloths to catch any drips or spills.
Professional Priming Techniques
Priming your cabinets is crucial for achieving a professional-looking finish. Here's why:
- Enhanced adhesion: Primer helps the paint stick better to the cabinet surface.
- Improved coverage: It provides a uniform base for the paint, reducing the number of coats needed.
- Even color finish: Primer helps to prevent the original cabinet color from showing through.
When choosing a primer, consider your cabinet material and the type of paint you'll be using. Some primers are designed specifically for wood, while others work best with laminate or metal surfaces.
To apply the primer, use a high-quality brush or roller, depending on the cabinet surface. Make sure to apply an even coat and allow sufficient drying time before moving on to painting.
Painting for a Flawless Finish
Now that your cabinets are prepped and primed, it's time to start painting! Keep these tips in mind for a flawless finish:
- Use the right techniques: Use a brush for detailed areas and a roller for flat surfaces to achieve a smooth, even finish.
- Apply thin coats: Multiple thin coats of paint will result in a more durable finish than one thick coat.
- Prevent and correct drips: Watch for drips as you paint and use a brush to smooth them out immediately.
- Allow proper drying time: Follow the paint manufacturer's instructions for drying time between coats and before reassembly.
| Painting Tips | Description |
|---|---|
| Thin coats | Apply multiple thin coats for durability |
| Prevent drips | Watch for and correct drips immediately |
| Drying time | Allow sufficient drying time between coats |
Reassembly and the Big Reveal
After your final coat of paint has dried completely, it's time to reassemble your cabinets and admire your hard work!
- Optional: Add new hardware for an updated look that complements your fresh paint job.
- Carefully reinstall doors, ensuring they are properly aligned and functioning smoothly.
- Maintain your beautiful new cabinets by gently cleaning them regularly and avoiding harsh chemicals or abrasive scrubbers.
Before and After Showcase
To inspire and motivate your readers, include before-and-after photos of your own DIY kitchen cabinet painting project or examples from others who have successfully transformed their kitchens. Seeing the dramatic difference a fresh coat of paint can make will encourage readers to take on this rewarding project themselves.
In conclusion, painting your kitchen cabinets is a cost-effective and transformative DIY project that can completely revitalize the look of your kitchen. By following this ultimate guide and paying attention to the essential steps of preparation, priming, and painting, you can achieve a professional-looking finish that will make your kitchen the heart of your home. So, gather your supplies, choose your perfect color, and embark on your kitchen cabinet painting journey today!


