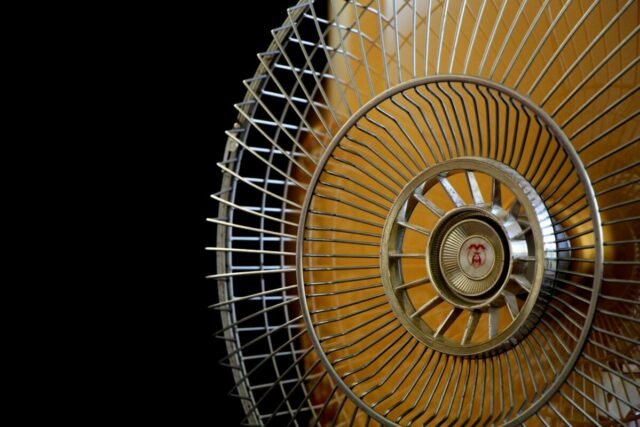
As the summer heat intensifies, many of us find ourselves seeking refuge from the sweltering temperatures. While standard air conditioning units provide relief, they can be costly to run and may not be accessible to everyone. Fortunately, there are simple and budget-friendly DIY air conditioner options that can help you beat the heat without breaking the bank.
The Basics: How Air Conditioners Work
Before diving into the DIY methods, let's briefly explore how air conditioners function. Air conditioners work by using a process of evaporation and cooling coils to remove heat and humidity from the air. The refrigerant in the cooling coils absorbs the heat from the air, which is then expelled outside, leaving cooler air to circulate inside the room.
Method 1: Fan and Ice/Frozen Water Bottles
One of the easiest ways to create a DIY air conditioner is by using a fan and ice or frozen water bottles. This method is often referred to as a "fan and ice air conditioner" or "water bottle AC."
Materials:
- Fan
- Plastic bottles
- Water
- Salt (optional)
Instructions:
- Fill the plastic bottles with water, leaving some space at the top for expansion during freezing. For faster cooling, add a tablespoon of salt to each bottle before freezing.
- Place the bottles in the freezer until they are completely frozen.
- Position the frozen bottles in front of the fan, ensuring that the air from the fan blows directly over the bottles.
- Turn on the fan and enjoy the cooled air as it circulates around the room.
As the air passes over the frozen bottles, it cools down and creates a refreshing breeze. This method is simple, effective, and can be easily customized based on the number of bottles and the size of the fan.
Method 2: The Swamp Cooler (Evaporative Cooler)
Another popular DIY air conditioner is the swamp cooler, also known as an evaporative cooler. This method relies on the principles of evaporative cooling to lower the temperature of the air.
Materials:
- Large bucket or container
- Fan
- PVC pipe
- Ice
- Water
- Insulation material (optional)
Instructions:
- Cut a hole in the lid of the bucket, large enough to fit the PVC pipe snugly.
- Place the PVC pipe through the hole, ensuring that one end is submerged in the water and the other end is directed upwards.
- Fill the bucket with water and add ice for enhanced cooling.
- Position the fan to blow air into the top of the PVC pipe.
- Optional: Insulate the bucket to improve cooling efficiency.
As the fan blows air into the PVC pipe, it forces the cool, moist air from the bucket to circulate in the room. The evaporation of water helps to lower the temperature of the surrounding air.
Method 3: Upgraded Swamp Cooler with Copper Coil
For those looking for a more advanced DIY air conditioner, the upgraded swamp cooler with a copper coil can provide even better cooling performance.
Materials:
- Small bucket or container
- Fan
- Copper tubing
- Ice
- Water
- Small water pump
Instructions:
- Create a coil using the copper tubing, ensuring that it fits inside the bucket.
- Connect one end of the coil to the water pump and place the pump inside the bucket.
- Fill the bucket with water and ice.
- Position the fan to blow air over the copper coil.
- Turn on the water pump to circulate the cold water through the coil.
As the fan blows air over the cold copper coil, it cools down the air, providing a more effective cooling solution compared to the basic swamp cooler.
Tips for Best Results
To maximize the effectiveness of your DIY air conditioner, consider the following tips:
- Choose the right size: Ensure that the DIY air conditioner is appropriate for the size of the room. Smaller units may struggle to cool larger spaces effectively.
- Ideal placement: Position the DIY air conditioner near a window or door to allow for proper air circulation and exhaust of warm air.
- Combine cooling methods: Use additional cooling techniques alongside your DIY air conditioner, such as placing ice packs on your body or using fans to circulate the cooled air.
Safety Considerations
When using DIY air conditioners, it's essential to keep safety in mind:
- Electrical safety: Be cautious when using fans near water sources. Ensure that electrical connections are secure and away from any moisture.
- Mold prevention: Regularly clean and dry the components of your swamp cooler to prevent mold growth, which can occur due to the presence of moisture.
DIY air conditioners offer a budget-friendly and accessible way to beat the heat during the summer months. By experimenting with different methods, such as the fan and ice, swamp cooler, or upgraded swamp cooler with a copper coil, you can find the solution that works best for your space and needs.
While DIY air conditioners may not provide the same level of cooling as a traditional air conditioning system, they can still offer significant relief from the heat. So, get creative, stay cool, and enjoy the summer without the high costs of running a standard air conditioner.
| Method | Materials | Cooling Principle |
|---|---|---|
| Fan and Ice/Frozen Water Bottles | Fan, plastic bottles, water, salt (optional) | Air passes over frozen bottles, cooling it down |
| Swamp Cooler (Evaporative Cooler) | Large bucket, fan, PVC pipe, ice, water, insulation (optional) | Evaporation of water cools the surrounding air |
| Upgraded Swamp Cooler with Copper Coil | Small bucket, fan, copper tubing, ice, water, small water pump | Fan blows air over cold copper coil, providing enhanced cooling |
Remember, when using DIY air conditioners:
- Choose the appropriate size for your room
- Position the unit near a window or door for proper air circulation
- Combine cooling methods for maximum effectiveness
- Prioritize electrical safety and prevent mold growth
With these tips and techniques, you'll be well on your way to creating your own low-cost, homemade air conditioner to keep you cool and comfortable all summer long.


